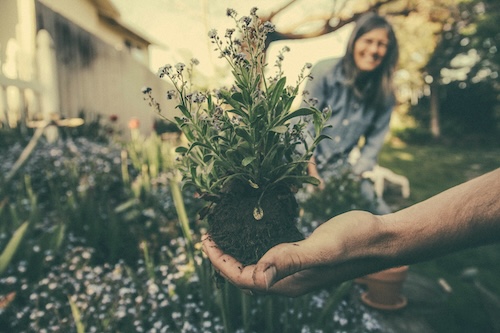
Late Fall is Time for Seed Saving!
Why?
You can preserve specific varieties of garden plants…..
that you enjoy …. that do well for you…. that are becoming rare.
You can easily pass these varieties along to friends.
And – you can save money: you won’t need to buy as many seeds next spring!
What?
Many garden flowers and vegetables have seeds that are very easy to save,
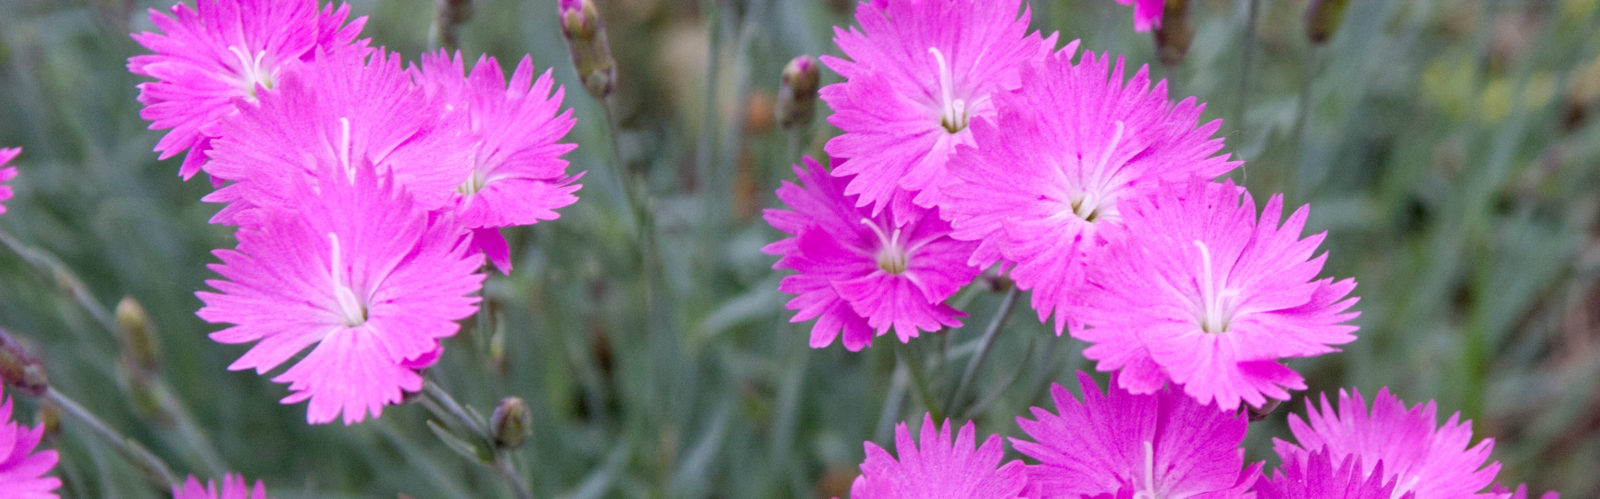
Some of the easiest flowers include….
Cleome (spider plant) marigolds hollyhocks poppies
morning glories Cosmos Zinnia Nasturtium
….and anything that has a nice dry seed head or pod, such as Lunaria (money plant/silver dollar/honesty)
You can also save the seeds of a variety of herbs and vegetables (note: these must be ripe or the seeds will be immature and will not germinate), such as…..
Beans Squash Melons Cucumbers Peppers Peas Dill Cilantro Okra Eggplant Tomatoes (*see below)
Unless you want to experiment, don’t try to save the seeds of hybrid plants (anything that you have planted that is labeled as an “F1 hybrid.”) Plants grown from such saved seeds may be quite different from their parents; you will not get what you expect.
How?
If the flower/fruit/pod is dry, it is easy to break it open and shake out the seeds. Clean out as much extraneous vegetable matter as you can, and lay them out flat on a white paper towel for a day or so in a dry place (No taking chances on rotting!)
If you have a ripe fruit/vegetable, you should carefully remove the seeds and wash them thoroughly. Rinse them several times, removing as much non-seed material as possible. Lay out, in a single layer, on a white paper towel, and let dry thoroughly in a cool, dry, place (not in the sun) for at least a week, or until they feel very dry.
*Tomatoes need special treatment. Squeeze the seeds out of their cavities into a bowl, and rinse lightly. Then, add a cup of water, and put the bowl into the sun for about a week. Every day or so, pour off the fermenting muck on top of the dish, and make sure there is plenty of water for this (essential!) fermentation to occur. At the end of the week, the viable seeds will have sunk to the bottom of the dish, and you can proceed to rinse and then dry (and store) them .
Storage –
You can store your seeds in plastic bags, pill or film bottles, paper envelopes – in short, anything that will keep them protected and dry.
Put them in a dry and cool place. If possible, keep them out of bright light as well. (It isn’t necessary to refrigerate the seeds – in fact, many parts of the refrigerator are too humid for good storage; keeping them in a cellar can work well. Do not freeze!)
Label your seeds. Write both the exact variety (and the date collected) clearly on your packet.
Enjoy